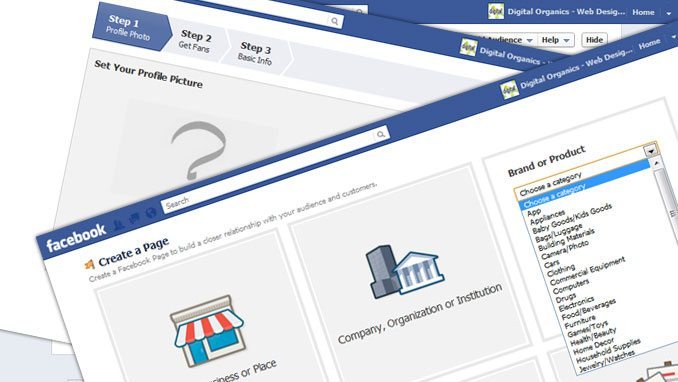


The way Facebook changed it pages is totally amazing. You probably think that you don’t like it but once you get used to it it’s going to blow you away.
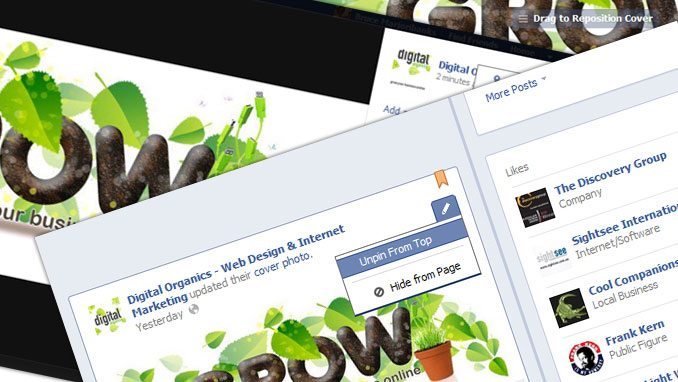
Facebook Timeline has a nice big cover image that can really draw attention to the page. Then you can put a little profile in there as well. The long profile images are gone and this short profile is a lot better. The cover image replaces this long profile image. You can also put a lot of information in there.
There are some Facebook rules that are different than the personal profile images from the timeline covers but it really doesn’t matter because you can do so much with this from your Facebook Fan Page.
The Like button is now right the middle of the page. It’s exactly in the idle of your screen. You are not allowed to it or anything but there are ways to get people to Like the Page.
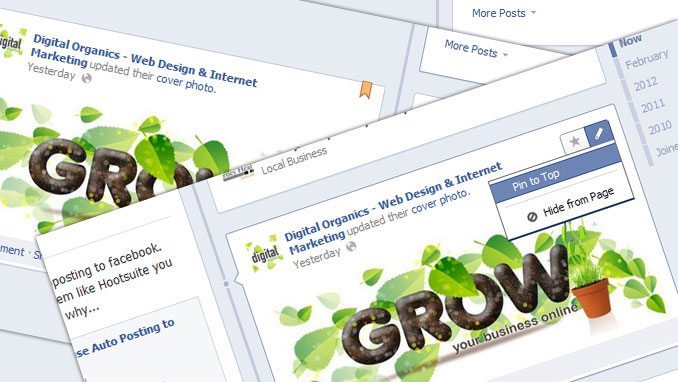
For instance, if you have a post, you can pin it. A little pin tag will show on top of the post and everything that you post after this is going to be put underneath this pinned image. It’s more like a form where you stick a message. This is where you can put really cool images and links to other parts of the page because you can still use the i-frames especially at the moment you can still use custom i-frames and add Page tabs to your page.
The Page Tabs will show up just below the cover image. You can have your Likes first and foremost, and then your Page Tab and your photos.
Creating a Facebook Timeline Page
You got to go to Facebook.com/pages and you got to go the upper right hand corner to the button which says “Create Page”. Click it.
Now, you’re going to choose kind of page you want to pick. You can choose Local Business, Company, Organization or Institution, Brand or Product, Artist, Band or Public Figure, Entertainment, Cause or Community.
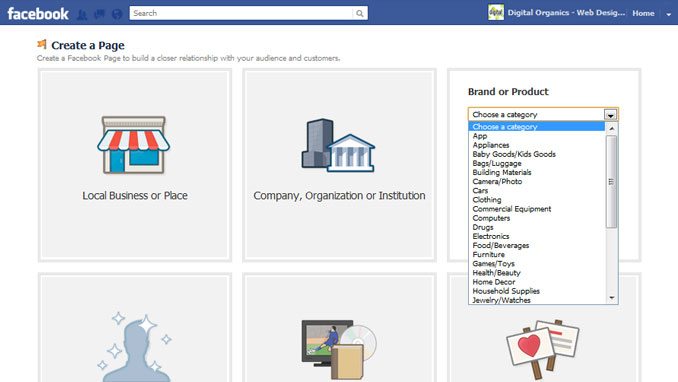


Let’s take Brand or Product for example. You have then to Choose a Category. Then choose the Name of your Brand or Product. And click the box to agree to the terms and conditions and click “Get Started”.
Step 1
Upload an Image
You have to choose a file for your profile photo. You have to upload that and Continue.
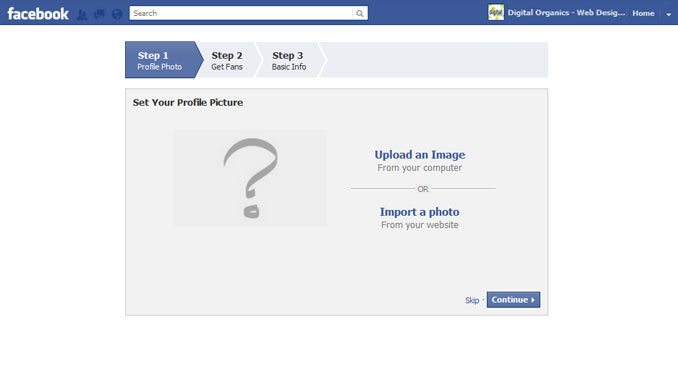


Step 2
Get Fans
To do get some fans, you can invite some of your Facebook friends.
Step 3
Add some basic information about your brand or product.
Website
Add your complete website URL.
About
Tell people what your page is all about.
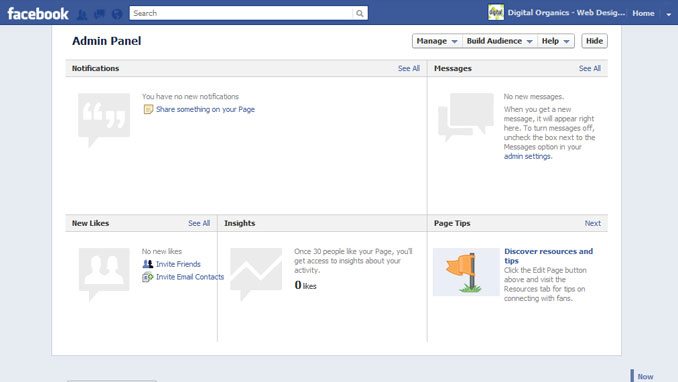
Admin Panel
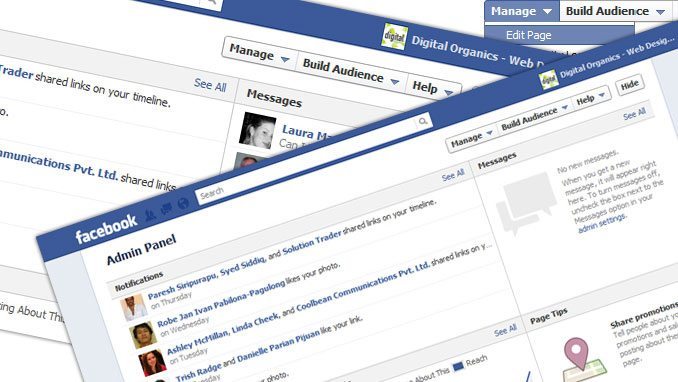
The new admin panel is pretty cool. You have Insights, New Likes, Notifications, and Messages all right in one spot.


Add a cover
Adding a cover is pretty much the same as the profile pages. You just have to upload a photo. Once it’s uploaded, it/s going to ask you if you want to reposition it and then you’re going to save the image.
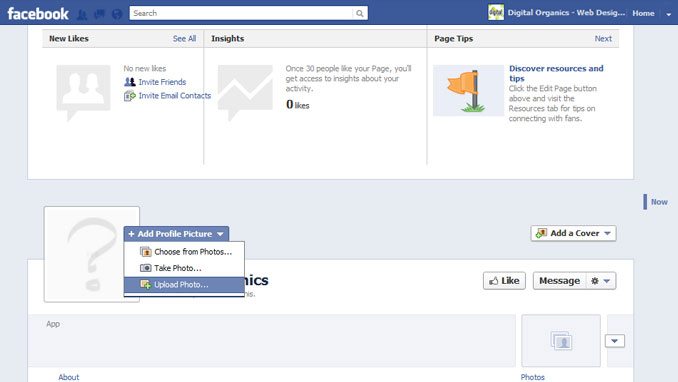


Create it to fit exactly, or allow the system to crop an image for you. Save the Changes. Now, your page is created, set and it’s ready to roll.
